Find the useful direction
Rotate the rough under daylight-equivalent and warm light. View it through each axis, wet the surface, and use white paper or a diffused light behind it. Decide whether saturation needs to be concentrated or opened.

CORUNDUM GEMSTONE CUTTING 101
Faceting sapphire and ruby is the controlled removal of material to manage color, light, symmetry and weight. The machine supplies references. The cutter still makes the decisions.
01 / KNOW THE MATERIAL
Ruby and sapphire are both corundum—crystalline aluminum oxide. Ruby is the red variety; every other gem color is sapphire. Corundum is tough, has no true cleavage and is extremely resistant to abrasion. That makes it durable in jewelry, but slower to cut and less forgiving of contamination than many beginner materials.
Hardness is not the same as toughness. A sapphire resists scratching yet can still chip at a sharp girdle, thin point, inclusion or stressed area. Heat from a dry lap, a hard knock during transfer or excessive pressure at a nearly finished meet can still cause damage.
Corundum is uniaxial and can show pleochroism—different color or intensity along different crystal directions. Orientation can make a blue sapphire look richly blue, greenish, gray or too dark. Ruby may show red versus purplish-red directions. Inspect before committing to the table plane.
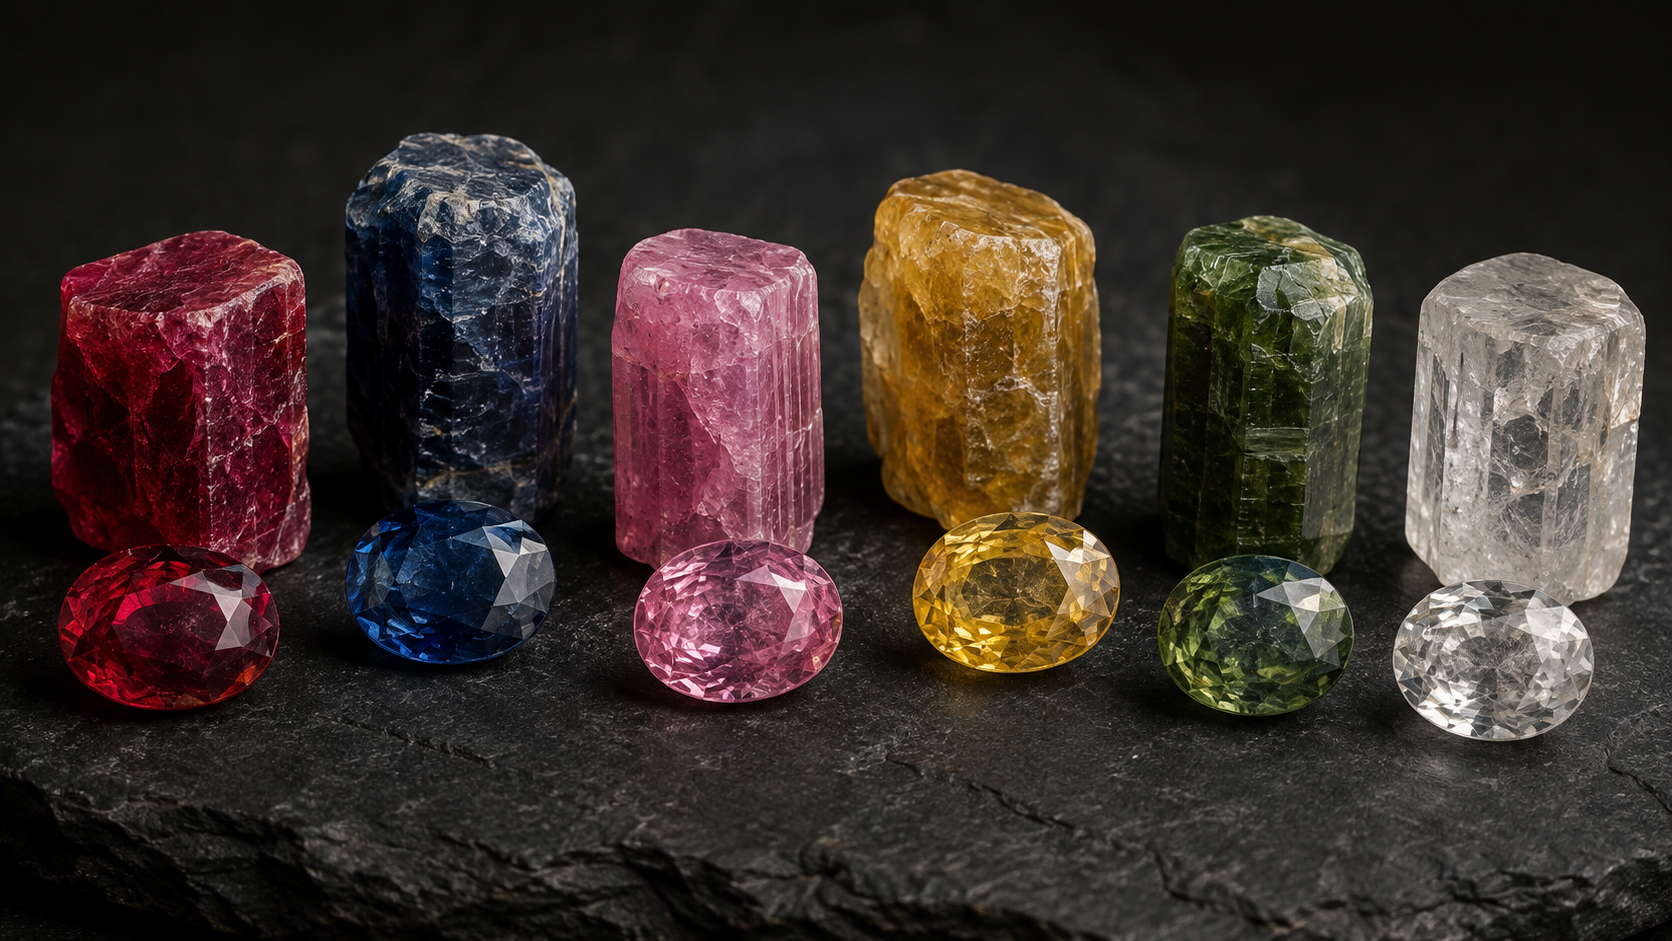
02 / READ THE ROUGH
Rotate the rough under daylight-equivalent and warm light. View it through each axis, wet the surface, and use white paper or a diffused light behind it. Decide whether saturation needs to be concentrated or opened.
Silk may soften light beautifully; a feather near the girdle may become a durability risk. Mark surface-reaching fractures, cavities and high-stress inclusions before sawing or grinding.
Estimate a finished outline inside the rough in three dimensions. A slightly unusual ratio may retain far more weight than forcing a calibrated shape. Face-up beauty usually matters more than a round-number carat target.
Asterism and chatoyancy need a cabochon, not a brilliant. Orient the dome perpendicular to the optic axis so intersecting silk can form a centered star. Translucent material may favor a cabochon, rose cut or shallow mixed cut.
03 / WEIGHT RETENTION
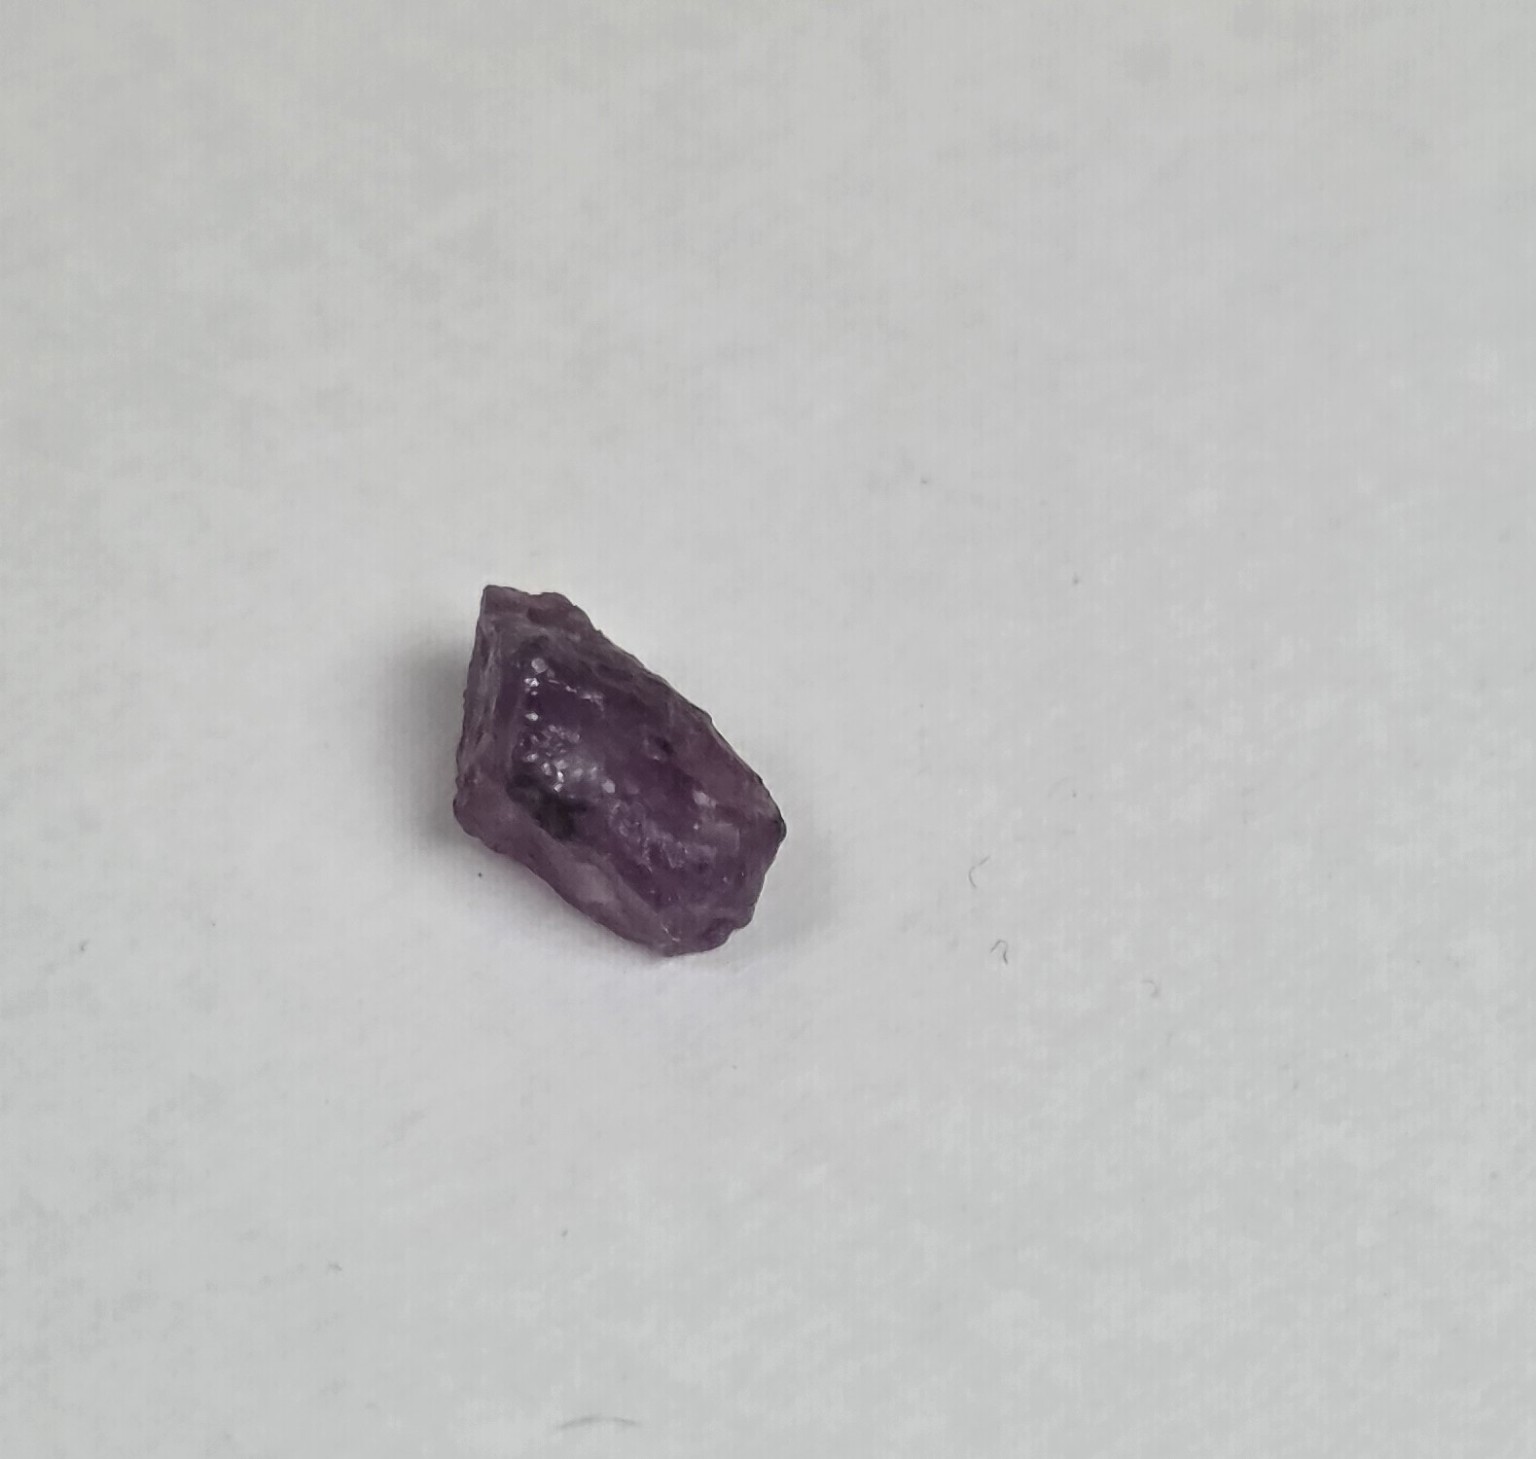
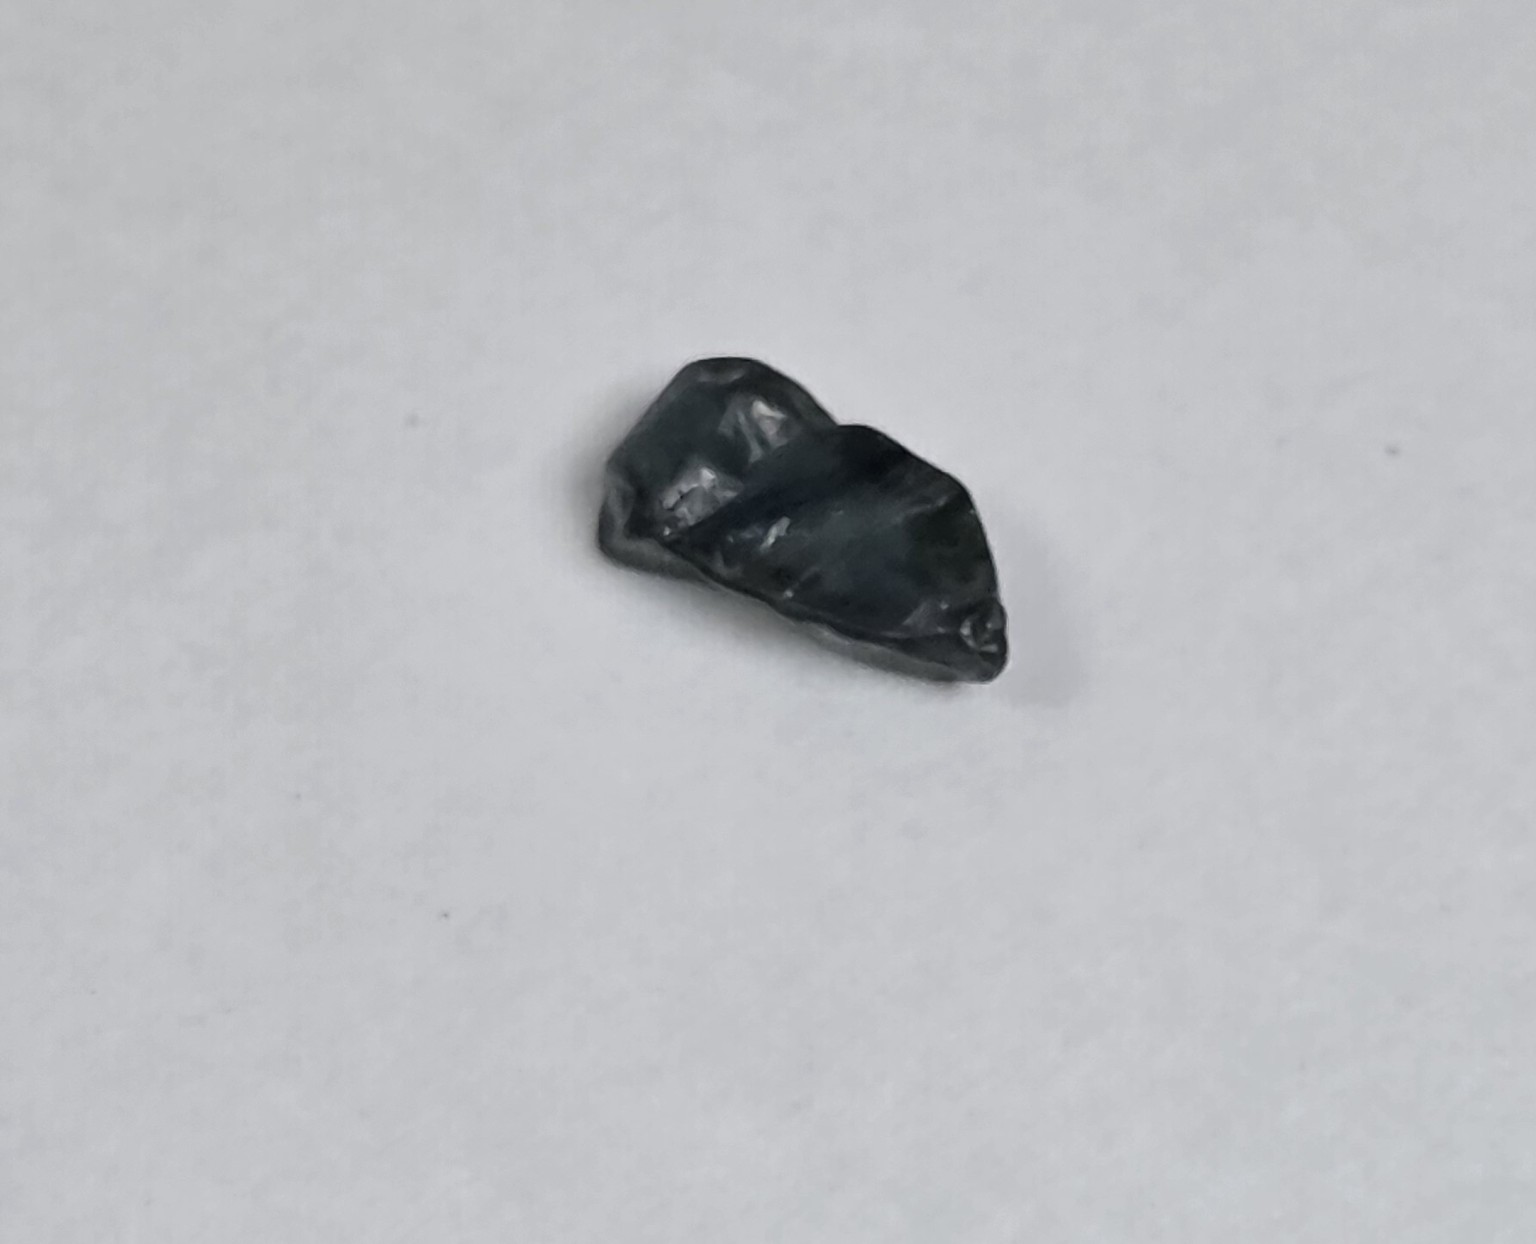
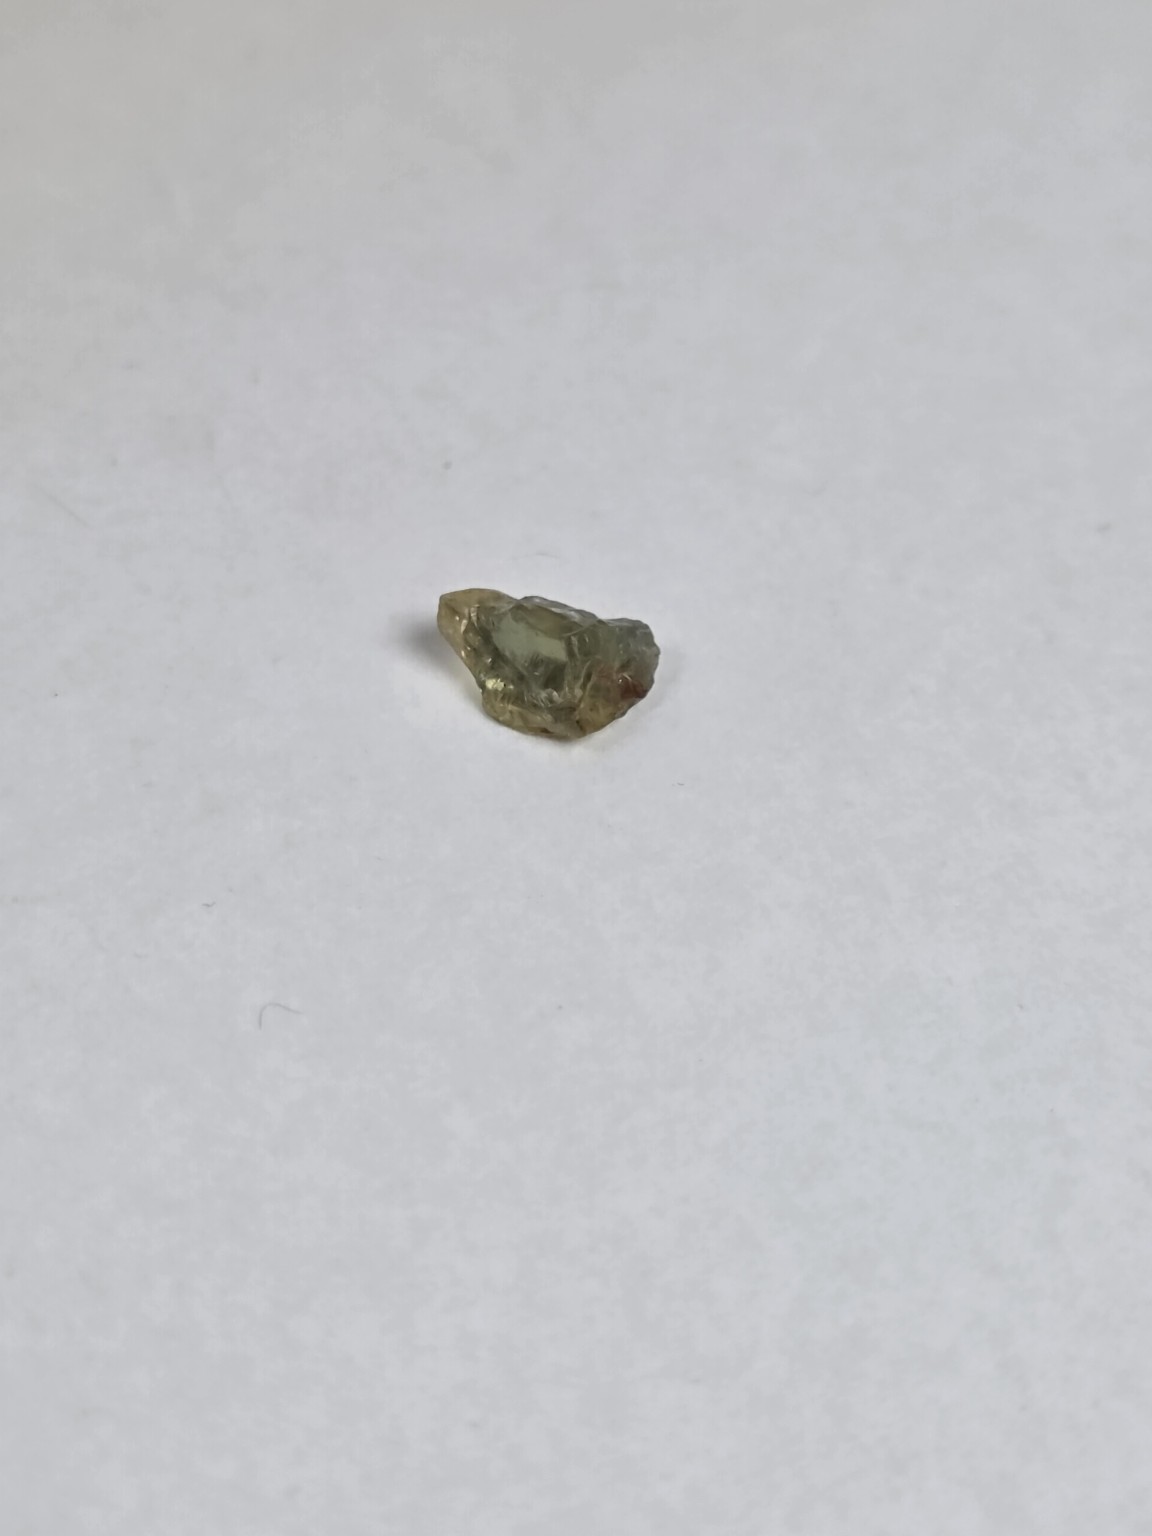
Example: a 2.0 ct finished sapphire from 5.0 ct of rough has 40% retention.
Weight retention measures how much rough remains after cutting. It is useful for evaluating a cutting plan, but it is not a grade. A smaller, bright and durable gem can be the correct result when the alternative is a heavier stone with weak color, a window, unstable fractures or a vulnerable outline.
Irregular shape, shallow depth, severe fractures, cavities, damaged skin or a narrow usable color zone can require major removal.
Normal for many pieces of faceting rough when orientation, soundness, optical performance and a balanced outline all matter.
Possible when the crystal is clean, well-shaped, adequately deep and already close to the intended finished outline.
Clean, consistent material and regular boule shapes allow predictable placement with fewer natural defects to remove.
WHERE THE WEIGHT GOES
A cutter may remove pale or overly dark areas, place the richest zone beneath the table, or shorten the light path so an over-saturated sapphire does not face up black. Parti-color rough may be oriented to preserve a deliberate division of color rather than the largest possible outline.
Surface damage must be ground away far enough to create a sound preform. A shallow chip can disappear quickly; a deep pit at the future girdle may force a smaller diameter or a different shape.
Fractures are not removed merely for appearance. Those near a corner, point or girdle can open during cutting, setting or daily wear. The cutter follows the fracture to stable material—even when that costs significant weight.
Natural inclusions are normal and do not all need removal. Silk, crystals and healed features may add identity or help establish natural origin. Removal becomes important when an inclusion clouds the face, interrupts light, reaches the surface or threatens durability.
Material is lost while establishing a pavilion deep enough to return light, a crown with useful angles and a girdle thick enough to survive setting. Retaining a shallow belly or excess pavilion weight can raise the scale reading while making the gem look smaller or windowed.
Natural crystals rarely arrive centered or evenly proportioned. Bringing opposing facets into balance, correcting a tilted axis and creating a wearable outline all consume material.
NATURAL VS. SYNTHETIC
Synthetic corundum has essentially the same chemistry, hardness and refractive behavior as natural corundum. The difference is origin: one formed in nature; the other was grown by people under controlled conditions.
For natural sapphire and ruby, losing more than half the rough weight is not automatically wasteful. A 20–40% finished yield is common, and difficult pieces may finish below 20%. Clean, blocky rough may exceed 40–50%. The meaningful question is not “How much remained?” but “Did the finished gem preserve the best color, remain durable and use the rough intelligently?”
04 / CUTTING SYSTEMS
No system makes a superior gem automatically. Accuracy comes from a rigid machine, a flat lap, correct calibration and a cutter who understands how pressure, depth, angle and index interact.
Repeatability and diagram cutting
Fast feedback and direct control
Traditional speed and intuitive cutting
Preforming, carving and repair
Mast: the easiest route into published meetpoint diagrams and repeatable tiers. Handheld: excellent for a cutter who values feel, compactness and direct control, provided the handpiece has reliable angle and index references. Jam-peg: ideal when taught by an experienced user or when traditional speed is the goal. Buy condition and alignment—not a feature list. A basic rigid machine that repeats is more useful than a digital display attached to flex or misalignment.
05 / COMPLETE WORKFLOW
Clean it, weigh it, measure three axes and inspect it dry, wet, backlit and under diffused light. Mark cracks, silk, cavities, color zones and the likely table direction.
Decide what matters most: color, face-up size, clean appearance, calibrated dimensions, phenomenon, yield or a specific design. You rarely maximize all of them at once.
Place the strongest color and best optical direction where the finished stone needs them. Remove only material that has no realistic place in the design.
Center the preform, allow the adhesive to cure fully and confirm that the dop, quill and stone run true before cutting precision tiers.
Establish the girdle or outline, then cut pavilion tiers from coarse structure to final meets. Keep pavilion facets safely above the critical angle unless the design intentionally uses controlled leakage.
Remove every subsurface scratch before changing stages. Polish is not a substitute for complete pre-polish.
Align the stone in the transfer fixture, support it without forcing, cure fully and test alignment before cutting deeply.
Build the crown to the diagram or the stone, preserve adequate girdle thickness, then bring in and polish the table last.
Check symmetry, polish, girdle, dimensions, weight and face-up performance in several lighting conditions. Record the design, angles and any deviations.
06 / ANGLES, INDEXES & DESIGNS
Angle is normally measured from the axis perpendicular to the lap: 90° cuts the girdle, lower numbers move toward the table. Pavilion angles control reflection and depth; crown angles influence dispersion, contrast, weight and face-up color.
The index gear divides a circle into repeatable positions. On a 120 gear, eightfold mains occur every 15 indexes: 0, 15, 30, 45, 60, 75, 90 and 105. A diagram written for another gear must be converted by proportion—not guessed facet by facet.
A meetpoint is where facets are intended to intersect. Cut each facet until its meets arrive together. If one facet requires a radically different depth, investigate centering, transfer, lap flatness, mast or handpiece alignment before chasing it.
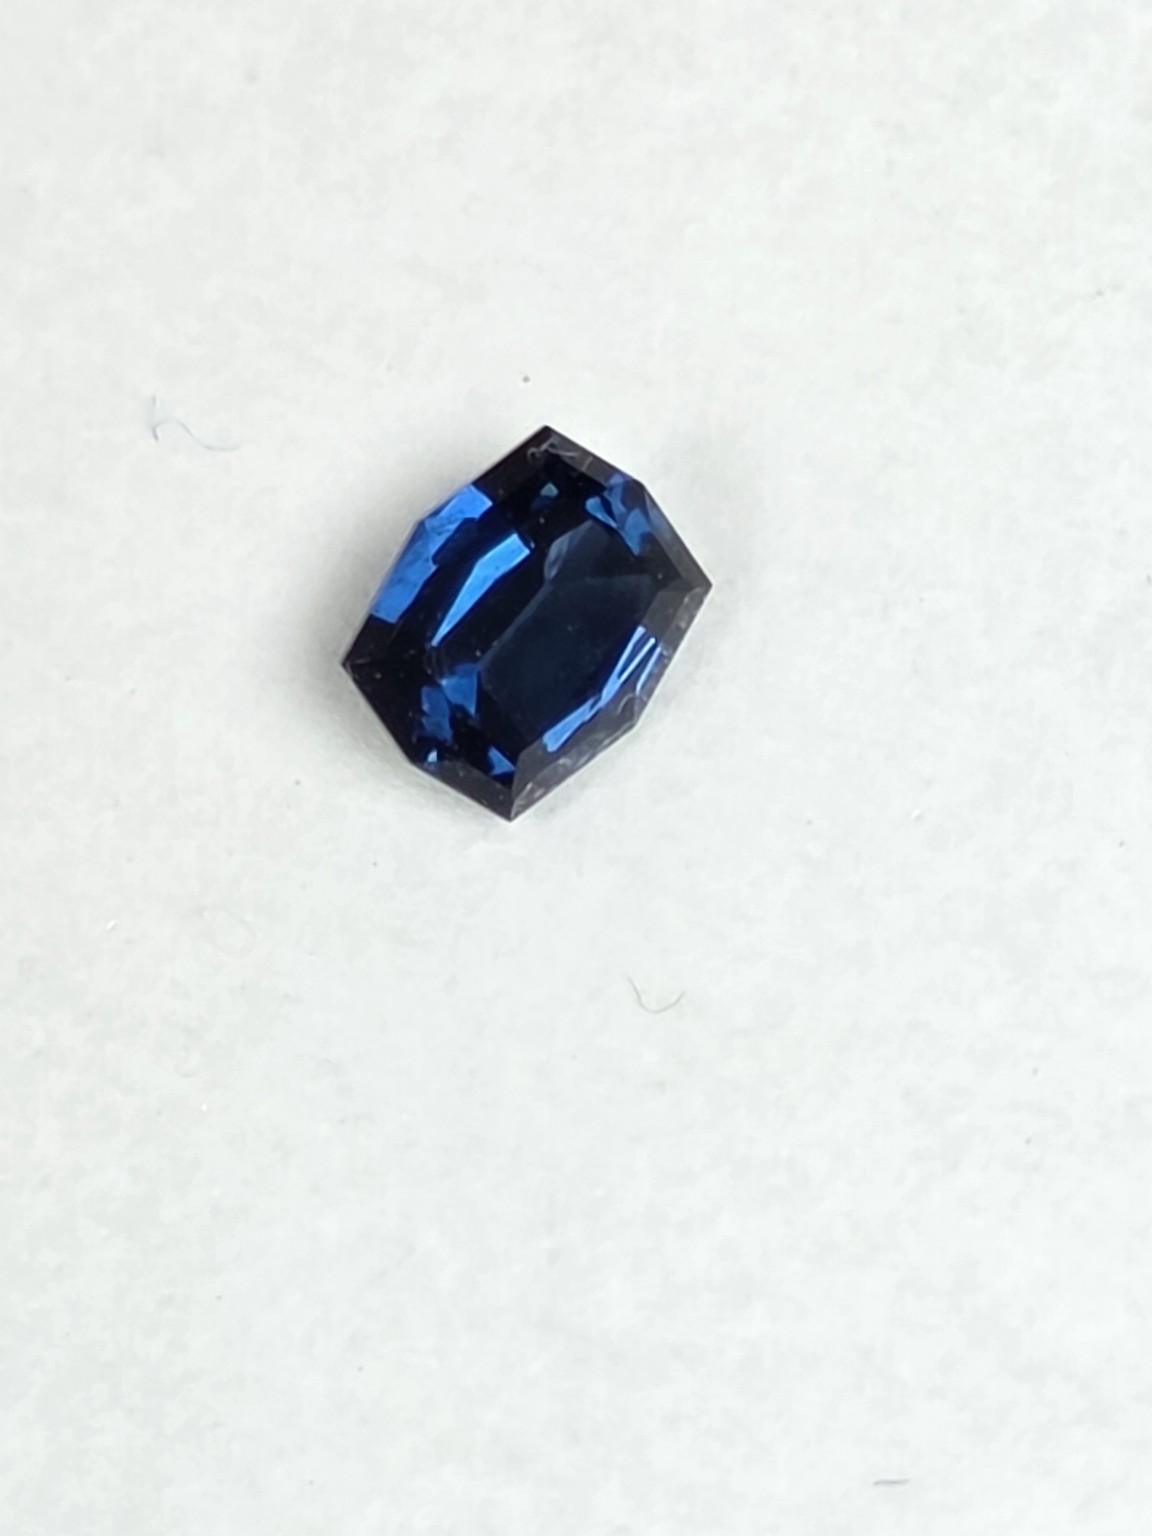
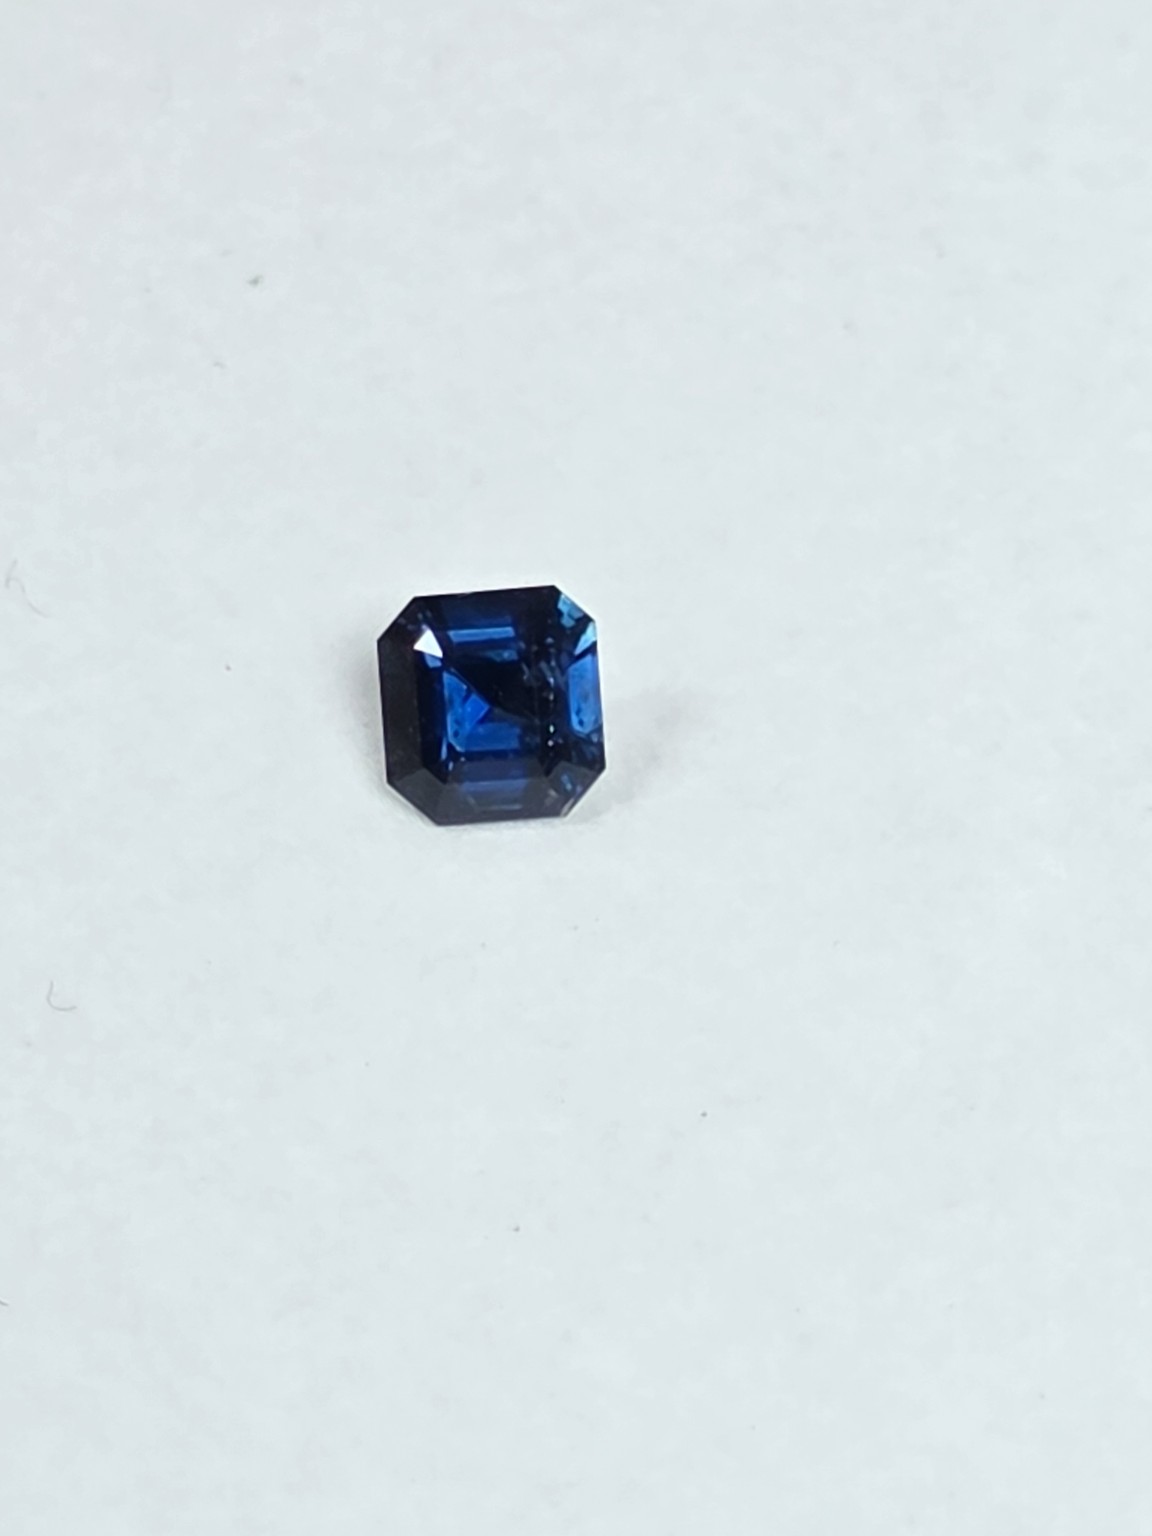
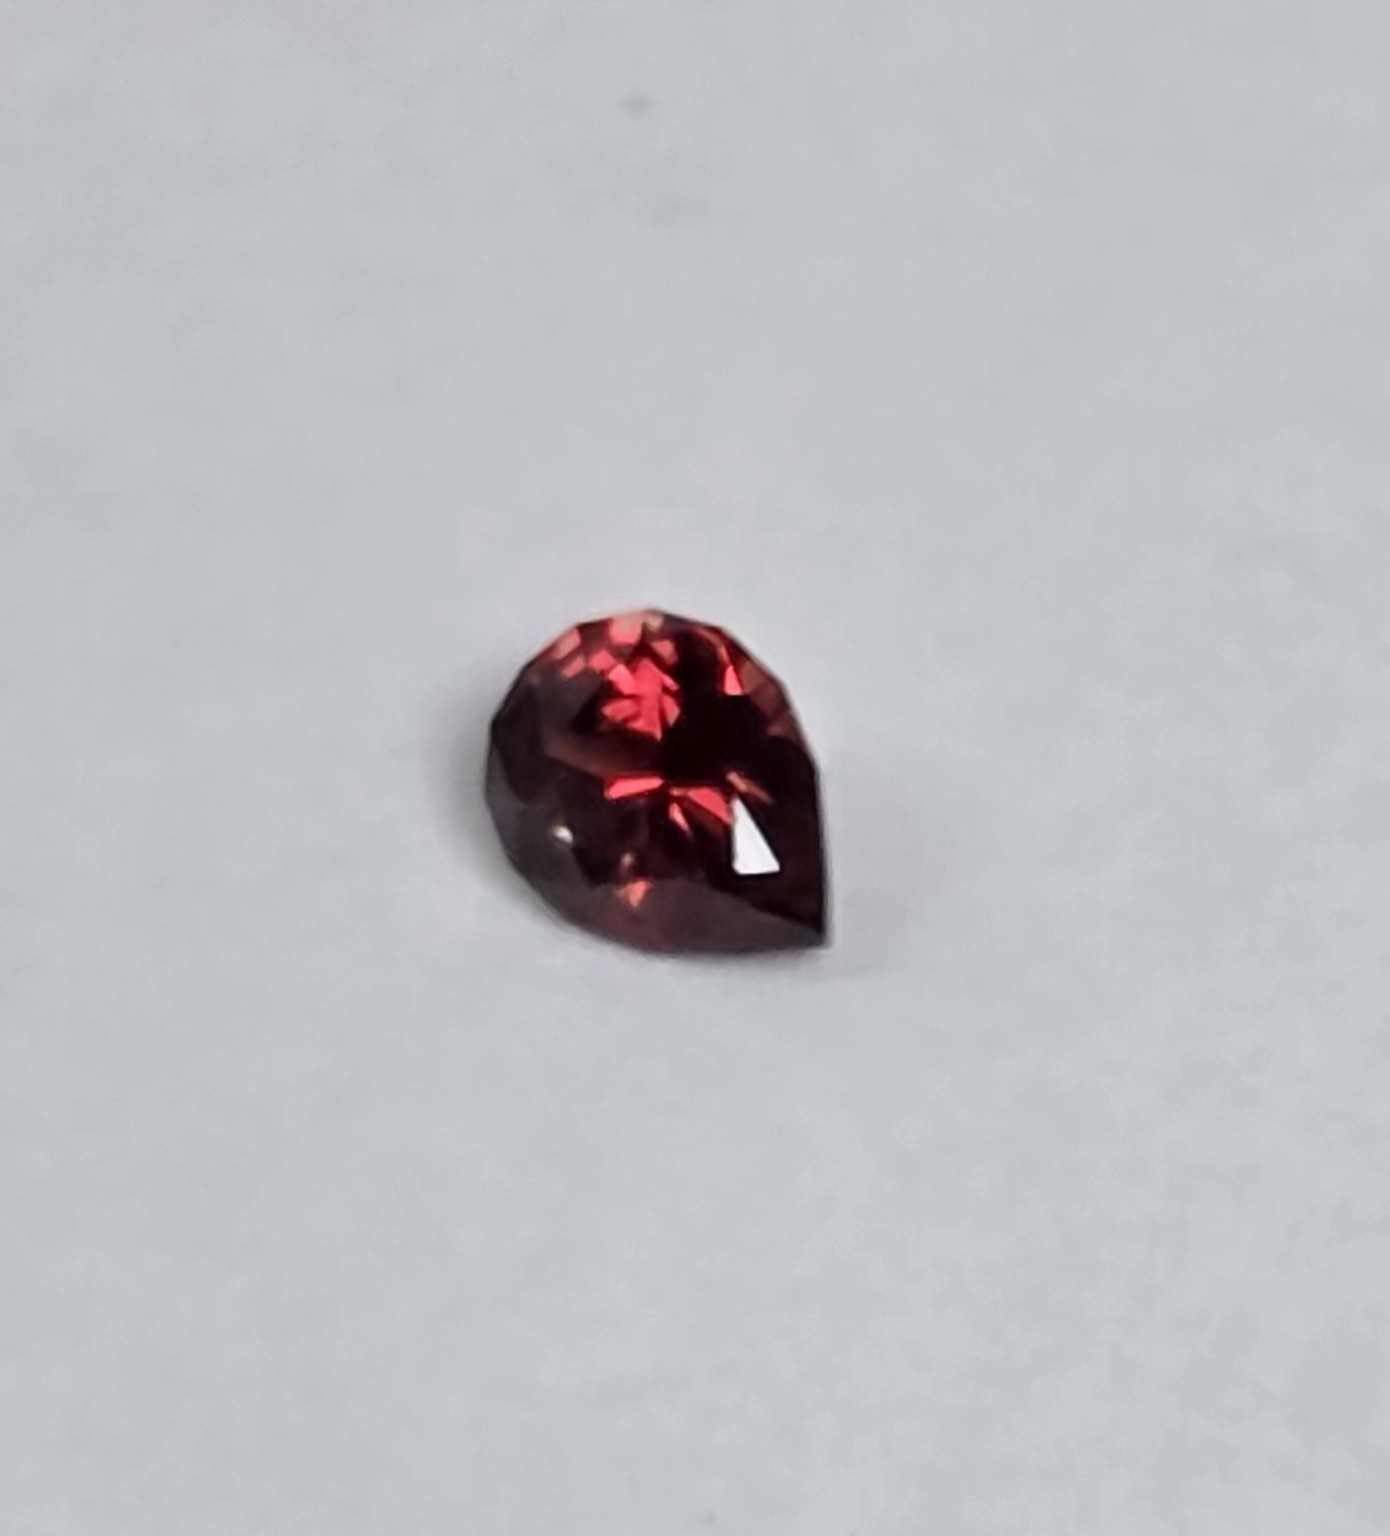
Typical working zones are starting points, not universal instructions. Many sapphire and ruby brilliant designs place pavilion facets roughly around 39–42°, crown mains around 30–36°, stars lower, and upper girdles higher. Always follow a tested design—or ray trace a new one—then adjust deliberately for the actual rough.
07 / LAPS, ABRASIVES & POLISH
Fast preforming and major removal. Keep away from final meets and fragile tips; coarse damage can travel deeper than the visible scratch.
Establish facets and bring tiers close. On small corundum, a well-behaved 600 may be the coarsest lap needed.
Remove coarse damage and approach final meets. A fresh aggressive lap can chip; use light pressure and verify every facet.
Zinc, copper or another compatible lap can create a uniform surface that polishes quickly. Stop only when no earlier scratches remain.
Tin-alloy, Batt-type, ceramic or other proven laps may work. Corundum often responds best to diamond with light pressure, controlled lubricant and a clean lap.
08 / DOPPING & TRANSFER
Wax is adjustable and traditional; cyanoacrylate is convenient and strong when surfaces are clean; epoxies offer working time and gap filling. Every adhesive has a release method and heat limit. Test it on expendable material before trusting an important stone.
Use a dop shape that supports the stone without contacting finished facets. During transfer, do not force a pavilion into a cone that does not match. Verify rotational alignment, centerline and tilt. After curing, cut a shallow test facet or girdle touch before committing to a deep crown tier.
09 / TROUBLESHOOTING
10 / SAFETY & BENCH PRACTICE
Use adequate coolant and avoid breathing mineral or metal-lap dust. Never dry-grind corundum at the faceting bench.
Wear safety glasses when sawing, preforming, heating dops or working near a spinning lap.
Keep hair, sleeves, jewelry, cords and wipes away from the rotating platen. Stop the machine before retrieving anything.
Read adhesive, solvent and lap-alloy information. Provide ventilation, avoid skin contact and wash hands before eating.
Keep plugs and controls dry, inspect cords, use grounded protection and clean spills promptly.
Use only enough heat to release or adjust a dop. Avoid thermal shock and never assume an inclusion-bearing stone tolerates rapid heating.
11 / A PRACTICAL LEARNING PATH
The goal is not mathematical perfection at any cost. It is a durable, beautiful gem whose geometry serves the individual piece of corundum.
Material constants and general corundum characteristics are cross-checked against the GIA sapphire reference. Cutting angles and procedures on this page are practical guidance, not a substitute for a tested design, machine instructions or hands-on training.